Melt and Pour Soap Making: Complete Beginner's Guide
Everything you need to know about melt and pour soap making. Learn base selection, additives, techniques, troubleshooting, and how to create professional results without handling lye.
Quick Answer
If you're interested in making soap but intimidated by the chemistry of cold process or the equipment needs of hot process, melt and pour soap is your answer. This beginner-friendly method eliminates the dangers of handling lye while still producing beautiful, professional-quality bars of soap. You simply melt a pre-made soap base, add colors and fragrances, pour into molds, and let it cool. In just a few hours, you'll have finished soap ready to use or gift.

What Is Melt and Pour Soap?
Melt and pour soap is a form of soapmaking where you start with a ready-made soap base that already contains saponified oils and lye. The saponification process—the chemical reaction that turns oils and lye into soap—has already happened, making it safe for beginners.
How It Compares
Melt and Pour vs. Cold Process:
- Cold process requires careful measurement and mixing of raw oils and lye, which is caustic and can cause chemical burns. It takes 4-6 weeks for the soap to cure before use.
- Melt and pour eliminates lye handling entirely. Your soap is ready in 24 hours.
Melt and Pour vs. Hot Process:
- Hot process uses the same raw ingredients as cold process but cooks the soap mixture in a slow cooker, speeding up the process to about 24 hours.
- Melt and pour is faster, simpler, and requires no lye knowledge.
The Trade-off: Melt and pour gives you less control over ingredients and formulation, but you gain safety, speed, and accessibility. For most beginners, this is a perfect starting point.
Choosing a Soap Base
The foundation of your melt and pour soap is the base you select. Different bases have different properties, transparency levels, lather profiles, and price points. Here's a comprehensive comparison:
| Base Type | Transparency | Lather | Best For | Price Range |
|---|---|---|---|---|
| Clear Glycerin | Translucent/Clear | Moderate, fluffy | Embedding objects, ombré effects, beginner projects | $4-8/lb |
| White Soap Base | Opaque | Creamy | Colorful designs, natural looks, everyday bars | $3-6/lb |
| Goat Milk | Creamy white | Gentle, creamy | Sensitive skin, eczema-prone skin, premium bars | $5-9/lb |
| Shea Butter | Creamy tan | Rich, moisturizing | Luxury soaps, dry skin, high-end gifting | $6-10/lb |
| Oatmeal | Tan/beige | Gentle, slight grit | Exfoliating bars, problem skin, textured designs | $5-8/lb |
| Honey | Golden tan | Moisturizing | Sweet-scented combinations, nourishing bars | $5-9/lb |
| Aloe Vera | Clear to pale green | Soothing, creamy | Sensitive skin, sunburn relief, cooling bars | $5-9/lb |
| Cocoa Butter | Creamy tan | Rich, heavy | Luxury creams, decadent bars, winter soaps | $7-12/lb |
Pro Tip: Start with clear glycerin and white bases to learn the basics. Specialty bases are fantastic once you're comfortable with the process.
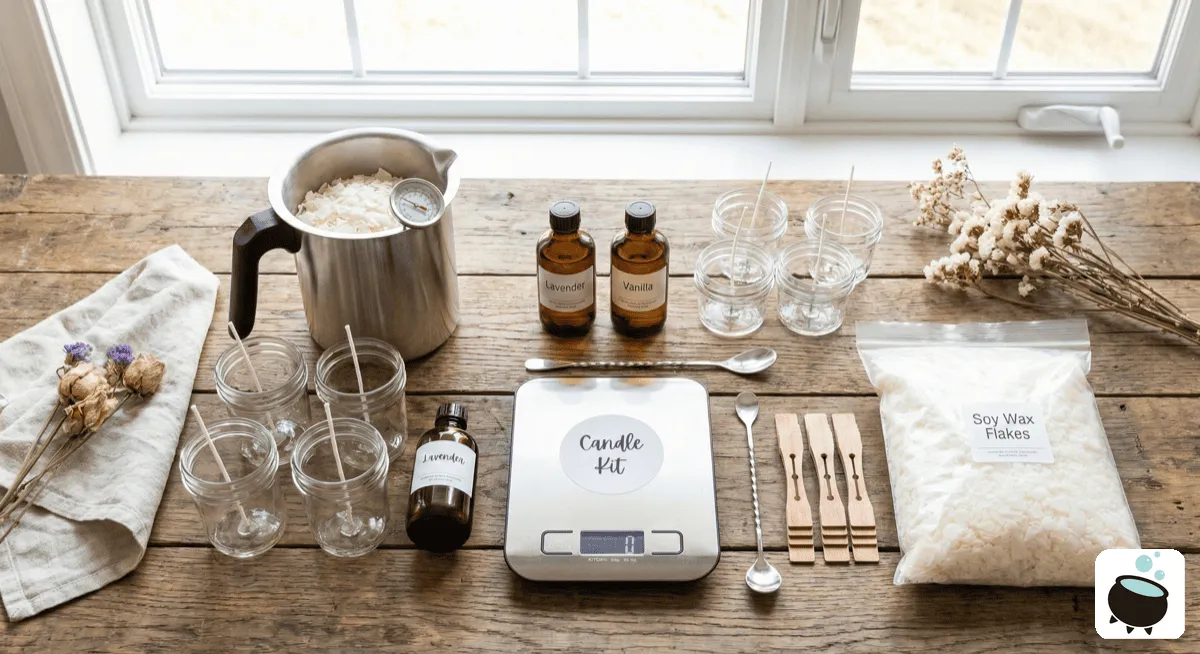
Essential Equipment
You don't need expensive or specialized equipment to get started. Here's what you'll need:
- Microwave or double boiler – For melting the soap base safely without scorching
- Silicone soap molds – Various shapes and sizes for different bar designs
- Thermometer – A candy or instant-read thermometer to monitor temperature (around 170-180°F is ideal for pouring)
- Soap colorants – Liquid dyes, mica, or natural colorants designed for soap
- Fragrance oils or essential oils – Choose oils rated for soap (not perfume oils)
- Measuring cups and spoons – Preferably dedicated ones you don't use for food
- Stirring utensils – Silicone or stainless steel spatulas and spoons
- Safety items – Apron, gloves, eye protection (mainly for handling colorants and concentrated fragrances)
- Cutting board and soap cutter – For trimming excess material after unmolding
- Isopropyl alcohol (70%) – For removing air bubbles from the surface before curing
Step-by-Step Process
Follow these steps to create your first batch of melt and pour soap:
Step 1: Prepare Your Workspace Lay out all equipment and ingredients on a clean, heat-resistant surface. Have your molds ready and positioned so you can move freely. A silicone mat protects your work area from spills.
Step 2: Measure Your Soap Base Decide how much soap you want to make. Most batches range from 8 to 16 ounces of base. Cut the base into smaller cubes using a sharp knife. Smaller pieces melt more evenly.
Step 3: Melt the Base Using either a microwave (30-60 second intervals, stirring between each) or a double boiler (heating gently over water), melt the soap base. Avoid overheating—temperatures above 180°F can cause discoloration and damage fragrance oils. Stir frequently for even melting.
Step 4: Remove from Heat Let the soap cool slightly until the surface just stops steaming. This is around 170°F, the ideal pouring temperature. Too hot, and colors will fade; too cool, and it will begin to thicken.
Step 5: Add Colorants Add your chosen colorants and stir thoroughly, breaking up any clumps. Most liquid dyes use 0.25 to 0.5 teaspoons per pound of base. Mica typically requires 0.5 to 1 teaspoon per pound. Start with less and add more for deeper color.
Step 6: Add Fragrance Once color is fully incorporated, add fragrance oil. The standard usage rate is 0.5 to 1 ounce of fragrance per pound of soap base (roughly 1-2 teaspoons per 8 ounces). Stir for 30-60 seconds to fully blend.
Step 7: Pour into Molds Carefully pour the mixture into your molds, filling to about three-quarters full if you plan to add embeds or layer. For a smooth top, pour steadily and avoid pouring from a great height.
Step 8: Remove Air Bubbles Spray the surface lightly with isopropyl alcohol to break surface tension and release trapped air bubbles. You'll see them disappear within seconds.
Step 9: Cool and Unmold Allow the soap to cool completely at room temperature (avoid the refrigerator—it can create a frosted, cracked appearance). Most melt and pour soap is ready to unmold within 4-6 hours. If you're impatient, you can unmold carefully after 2-3 hours if the centers feel firm.
Step 10: Cure and Cut Once unmolded, let bars sit for 24 hours before packaging or using. If you have excess material around the edges from the mold, carefully trim it with a sharp knife or bench scraper. Your soap is now ready to use!
Adding Colors, Fragrances, and Additives
One of the joys of melt and pour soapmaking is the endless customization options. Here's what you need to know:
Colorants:
- Liquid dyes are easiest for beginners; they mix smoothly and predictably
- Mica creates shimmer and metallic effects but can leave specks if not fully dissolved
- Natural colorants like turmeric (yellow), spirulina (green), and activated charcoal (black) work but may shift over time
- Always use soap-safe colorants; regular food coloring or craft dyes will bleed and fade
Fragrances:
- Fragrance oils are specially formulated for soap and provide consistent scent throw
- Essential oils are natural but cost more, fade faster, and some (like citrus) are volatile
- Always verify that your chosen oil is safe for soap use—some can trigger skin sensitivity
- Avoid perfume oils; they're designed for diffusers and won't stay in soap
Common Additives:
| Additive | Usage Rate | Benefits | Notes |
|---|---|---|---|
| Shea butter | 5-10% by weight | Moisturizing, luxurious | Add after base melts; stir until incorporated |
| Coconut oil | 5-10% by weight | Conditioning, lather boost | Adds cost but improves quality significantly |
| Honey powder | 0.5-1 tsp per pound | Sweet scent, gentle | Can lighten color; add with fragrance |
| Goat milk powder | 0.5-1 tsp per pound | Soothing, nourishing | Dissolve in a small amount of warm base first |
| Oatmeal | 1-2 tbsp per pound | Gentle exfoliation | Add just before pouring; it sinks quickly |
| Coffee grounds | 1-2 tbsp per pound | Exfoliation, scent | Great for deodorizing bars |
| Vitamin E oil | 0.25 tsp per pound | Antioxidant, preservation | Helps maintain color and scent |
| Sodium lactate | 0.5 tsp per pound | Faster unmolding, hardness | Optional but helpful for beginners |
Pro Tip: When adding powders like milk or honey, dissolve them in a small amount of melted base first, then stir into the main batch to avoid lumps.
Melt and Pour Techniques
Once you master the basic pour, try these advanced techniques:
Layering: Allow the first layer to cool slightly (but not harden completely) before pouring the next color on top. This creates distinct, vibrant stripes. Use a small amount of isopropyl alcohol between layers to help adhesion.
Embedding: Clear glycerin soap is perfect for embedding small objects like herbs, flowers, or smaller soap pieces. Pour a thin layer of clear base, let it set until skin forms, place your object, then pour more base around it. This creates eye-catching visual interest.
Swirls: Pour your first color fully, then drizzle a contrasting color on top in a spiral pattern. Drag a skewer or toothpick through the colors to create swirled patterns. Work quickly before the soap sets.
Stamping: Once your soap has cooled but is still slightly soft, press a rubber stamp into the surface to create texture and design. Silicone molds with textured bottoms automatically create patterns as the soap cools.
Ombre Effects: Layer progressively darker or lighter shades of the same color family from bottom to top. This creates a professional gradient effect that's stunning in clear bases.
Common Mistakes and Fixes
Even experienced soapmakers make these mistakes. Here's how to troubleshoot:
| Problem | Cause | Solution |
|---|---|---|
| Soap won't unmold | Too cool or overly textured mold | Run warm water over mold exterior; flex silicone molds gently |
| Frosted, cracked surface | Refrigerated cooling or temperature shock | Never refrigerate; cool at room temperature. For future batches, avoid sudden temperature changes |
| Discolored or darkened soap | Overheating or fragrance oil burning | Keep temperatures below 180°F; stir gently and pour carefully |
| Fragrance barely noticeable | Insufficient fragrance or using non-soap-grade oils | Use the full recommended rate (0.5-1 oz per pound); verify oil is soap-safe |
| Colorant won't blend | Clumpy or low-quality colorant | Purchase liquid dyes from reputable soap suppliers; use brands like Bramble Berry or Nurture Soap |
| Soap sweating or weeping | Humidity exposure or temperature fluctuations | Store in a cool, dry place; wrap finished soap in tissue or use shrink wrap |
| Air bubbles throughout | Not spraying with alcohol or pouring too fast | Spray surface generously with isopropyl alcohol; pour slowly from a lower height |
| Oily or sticky feel | Too much fragrance oil or coconut oil added | Measure carefully; verify you're using soap-safe, not perfume, oils |
Frequently Asked Questions
Can I use essential oils instead of fragrance oils? Yes, but with caveats. Essential oils are natural and often preferred by soap enthusiasts, but they're more expensive, fade faster in soap, and some can irritate sensitive skin. If using essential oils, stick to 0.5 ounces per pound maximum and choose skin-safe varieties like lavender, eucalyptus, and peppermint.
How long does melt and pour soap last? When properly stored in a cool, dry place away from direct sunlight, melt and pour soap lasts 12-24 months. Over time, color may fade and scent may weaken slightly, but the soap itself remains usable. This is why soap-makers date their batches.
Can I make melt and pour soap without a microwave? Absolutely. A double boiler works beautifully and gives you more control over heating. Fill a large pot with water, place a heatproof bowl on top (not touching the water), and melt your soap base over the gentle, indirect heat.
Is melt and pour soap better or worse than cold process? Neither is objectively better—they're different. Melt and pour is faster, safer, and more beginner-friendly. Cold process gives more control over ingredients and composition. Many soapmakers eventually learn both methods.
Can I sell melt and pour soap I make? Yes, with proper labeling and compliance with local regulations. You'll need to include ingredients, weight, fragrance warnings, and any required disclaimers. Some regions require labeling as a "handmade bath soap" to distinguish from commercial products. Research your local regulations before selling.
What's the best fragrance load for strong scent? Between 0.75 and 1 ounce of fragrance oil per pound of base provides excellent scent throw without overwhelming or burning the soap. Start at 0.5 ounces if you prefer subtle scents, or go up to 1 ounce for very strong bars.
Why did my soap develop white spots or discoloration? This "soda ash" is a harmless, natural oxidation process that sometimes occurs in soap. While not harmful, many soapmakers prevent it by covering soap while it cools, wrapping finished bars in tissue, or applying a light spray of isopropyl alcohol to prevent air exposure.
Can I reuse failed batches? Yes! If your soap didn't turn out as planned, chop it up and melt it again. Add more fragrance, color, or additives and re-pour. This is one of the great advantages of melt and pour—mistakes are rarely permanent.
Conclusion
Melt and pour soapmaking is an accessible, rewarding craft that produces beautiful results in just hours. Whether you're making gifts for friends, exploring a new hobby, or building toward a small business, this method removes the barriers that prevent people from getting started.
As you create more batches and experiment with colors, fragrances, and techniques, you'll develop your own signature style. Keep detailed notes about what works—ingredient amounts, pouring temperatures, cure times, and customer feedback. Tools like PotionHub can help you track your recipes and batches, ensuring consistency and letting you refine your craft over time.
Ready to get started? Grab a clear glycerin base, your favorite fragrance, and a simple mold. Your first batch of melt and pour soap awaits.
Try These Free Tools
Skip the Manual Math
PotionHub calculates lye, tracks batches, manages inventory, and scales recipes for you. Free during beta — no credit card required.
Get PotionHub Free